Friday, August 17, 2012

Meet Juno

A couple months ago, Andy and I got to talking about our upcoming birthdays and he asked me what I wanted for a present.  Since I started making clothing, I've been wanting to get a serger to add to my family of sewing machines.  For those of you who don't know what a serger is, it basically finishes off seams to prevent fabric from unraveling during wearing and washing.  So, if you look on the inside of your shirt, you'll see the seams are bound in a zig-zag like stitch.  That's the work of the serger.  Other great uses for sergers are for sewing a rolled hem and for sewing with stretchy knit fabrics.

Being a good and frugal wife, I've been monitoring craigslist for a reasonably priced serger in good condition. Lo and behold, this past Sunday I saw a promising posting, we went to check it out, and got me an early birthday present!

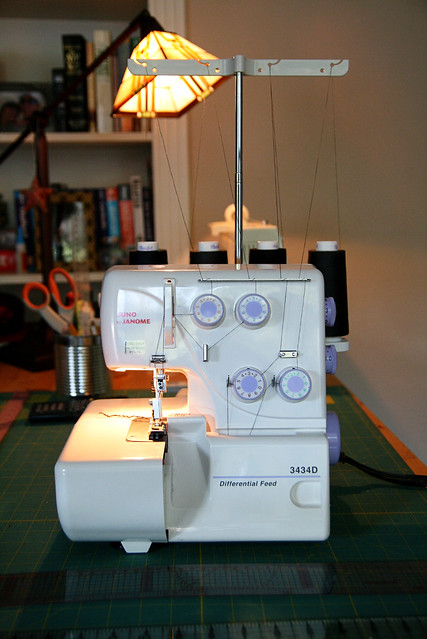
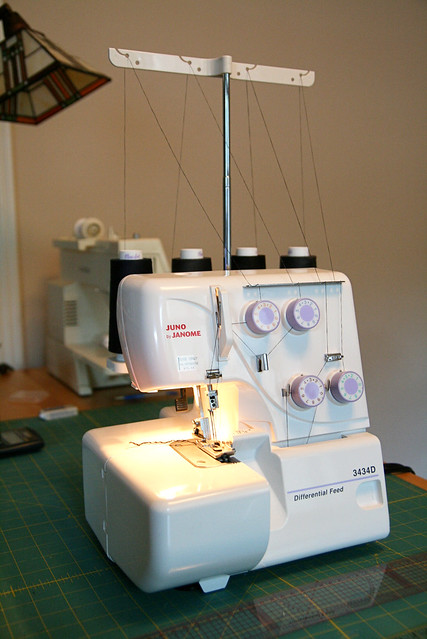
Introducing Juno - the serger:
IMG_4843e

IMG_4853e

Good thing the guy (yes it was a man) that sold it to me threaded it already because I think it'll take me awhile to figure out how to thread this thing.  

The best part - I only paid $75 bucks for this baby!  It retails at about $199, so I think I got a pretty good deal.  I told Andy he got off easy this year - I'm well under our "alotted" birthday gift maximum and he didn't even have to do any shopping....I did all the work for him!  Can't wait to put this baby to good use!

Tuesday, August 14, 2012

Aquarium Fun

Last week, I got to enjoy a fun day at the Downtown Aquarium in Houston.  They've got this great 2-for-1 deal running on Tuesdays during the summer so my friend and her two kiddos drove down into the city and met up with me for a play date.  I say play date, because I'm pretty sure her kids think that I'm there to play with them.  B noticed the fun water fountain (the kind which shoots up water from the ground) and wanted to go in and play.  His mom said they couldn't because they didn't bring their bathing suits, but next time they'll remember to bring their bathing suits.  B then responds "Jennie will bring her bathing suit too!"  Yes, of course I will....except I'd be the only grown woman frolicking in the water fountain with a bunch of kids.  Not creepy at all...

IMG_4819e
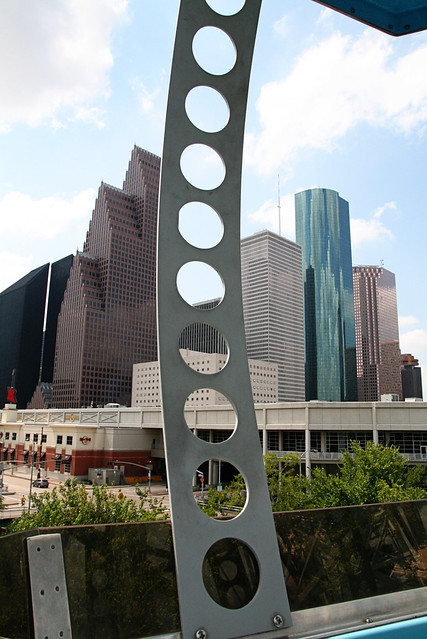
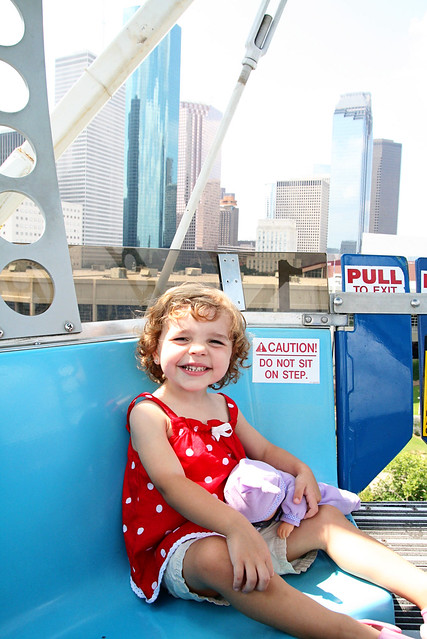
We got to ride the ferris wheel with great views of downtown Houston.
IMG_4832e

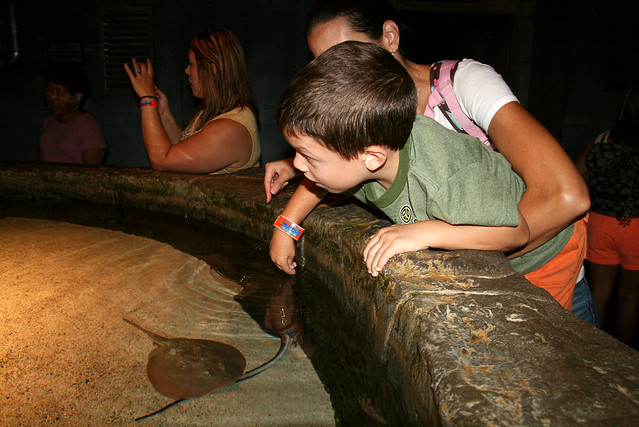
IMG_4798e
Touching some sting rays (without stingers) in the touch tank.

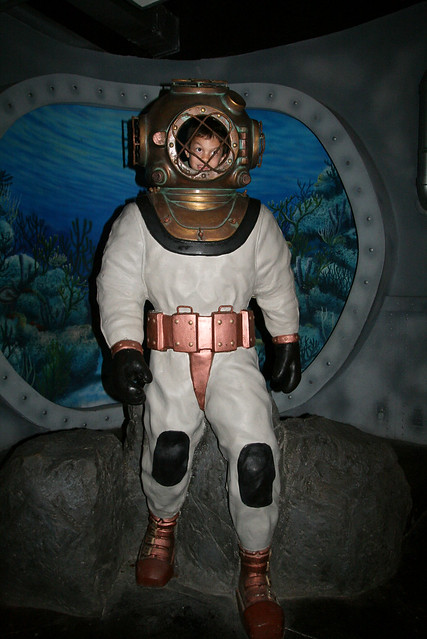
IMG_4802e
B pretending to be a diver, which really looks more like an underwater astronaut...

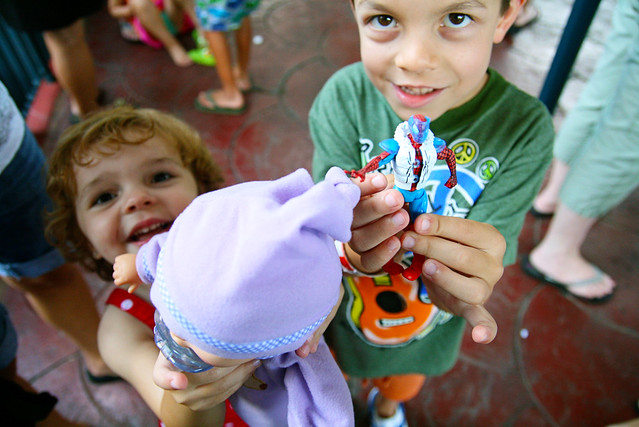
The kids were a bit camera shy and didn't want me to take their picture, but they wanted me to take pics of Purple Baby and Spiderman.
IMG_4805e

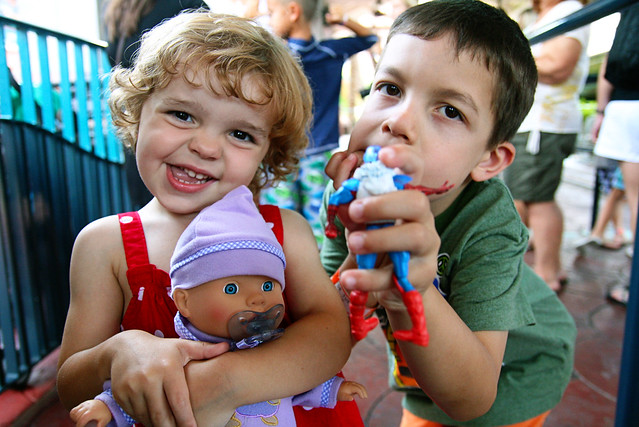
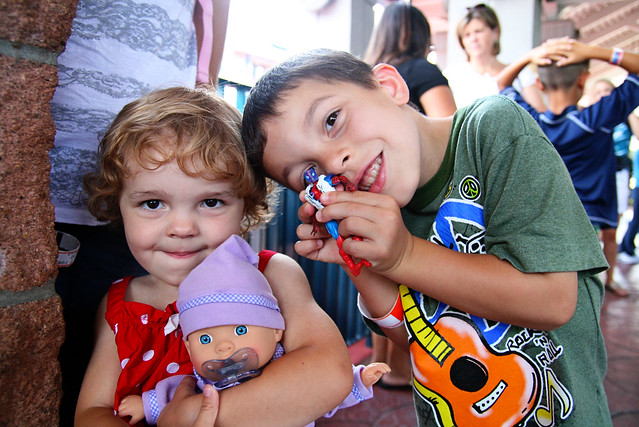
After a few shots, they warmed up to camera and I actually got to take pictures of the kids:
IMG_4810e

IMG_4811e

IMG_4813e
I love these kids!  They're just so darn cute.

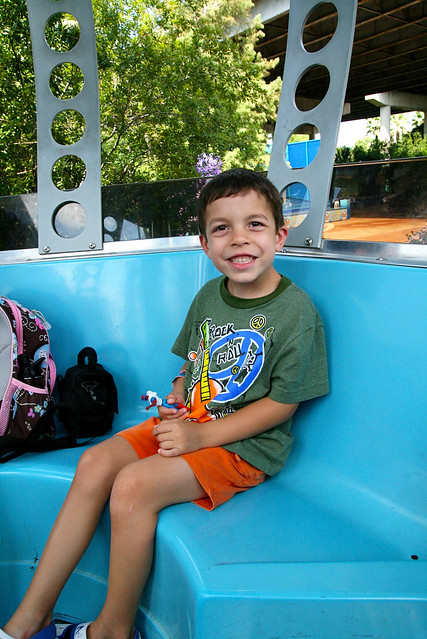
I got them to smile for me while riding the ferris wheel:
IMG_4822e

IMG_4826e

After all that fun, we were famished and got some Goode Company BBQ.  Perfect way to finish up a fun outing!

Tuesday, August 7, 2012

Weekend Wrap

IMG_4726e
This week's sewing project is a blanket for a special little girl.  So many of my friends are having babies, it's hard to keep up.  This blanket is actually looking more like a 2 or 3 month birthday gift...better late than never right?

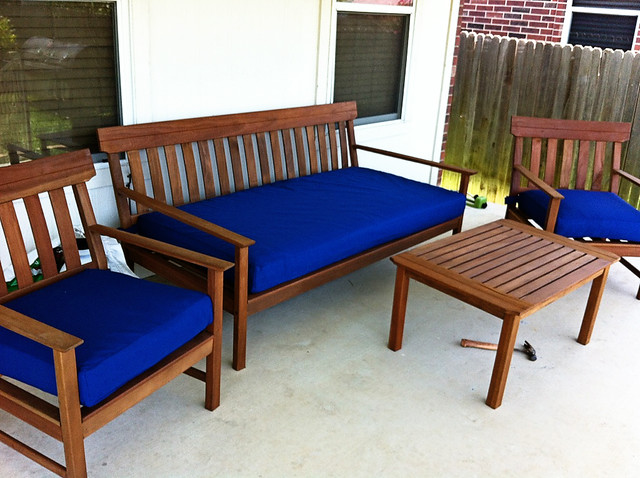
Last week's sewing project is being put to good use now.  My sister in law sent me a picture of the cushions I made for her - success!
IMG_1689

This weekend was a fun one.  The past two weekends, Andy's been working at home.  With the Olympics and fun events in Houston, he didn't get much work done this weekend.  It all started Saturday morning with some of my favorites:
IMG_4715e
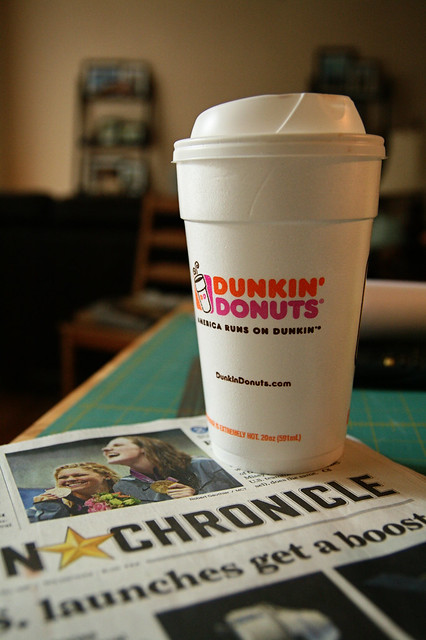
There's a Dunkin Donuts a couple miles from my apartment!!  To my Jersey friends, it may be no big deal to you guys, but Dunkins are few and far between here in Houston.  No better way to start the day than with a cup of French Vanilla coffee and my Houston Chronicle.

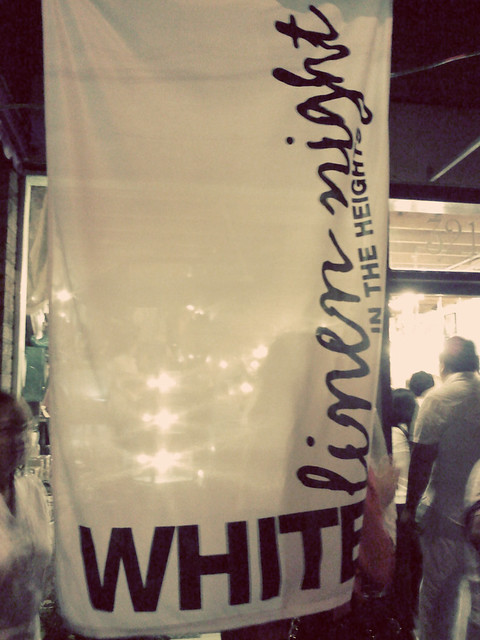
Saturday night, we checked out White Linen Night in the Heights.  The Heights is an older neighborhood of Houston - it kind of reminds me of Austin with it's eclectic old homes and interesting shops.  White Linen Night is basically a huge party in the Heights.  They close down a couple of streets for pedestrian traffic only.  There's food, drinks, shopping, bands, and some other interesting entertainment.  Oh, and everyone wears white.  I didn't feel like lugging my camera around, so I just took pics with my phone.  Sorry for the bad quality pics.

IMG294e
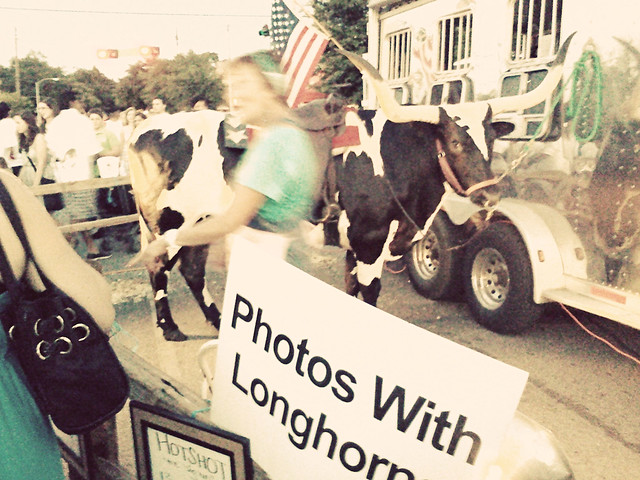
Only in Texas!

      IMG305e  IMG306e

They had this giant mister called the blizzard blaster set up on the street.  It was an outdoor mister and a/c all in one.  Andy really enjoyed it.
IMG307e  IMG308e

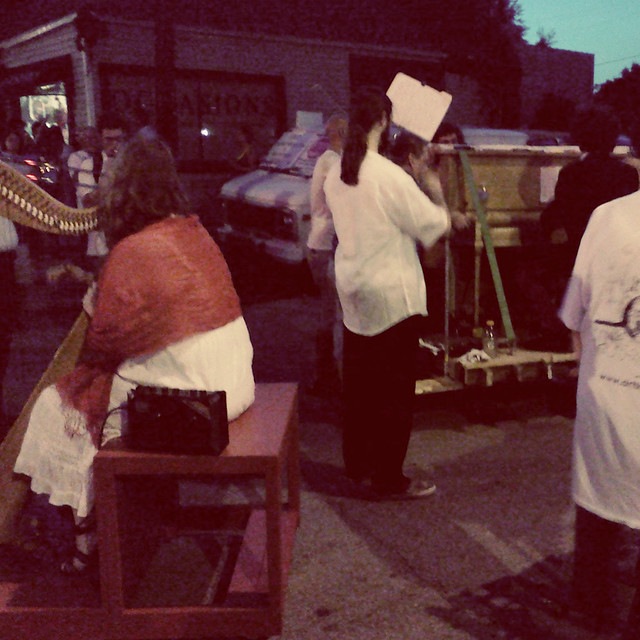
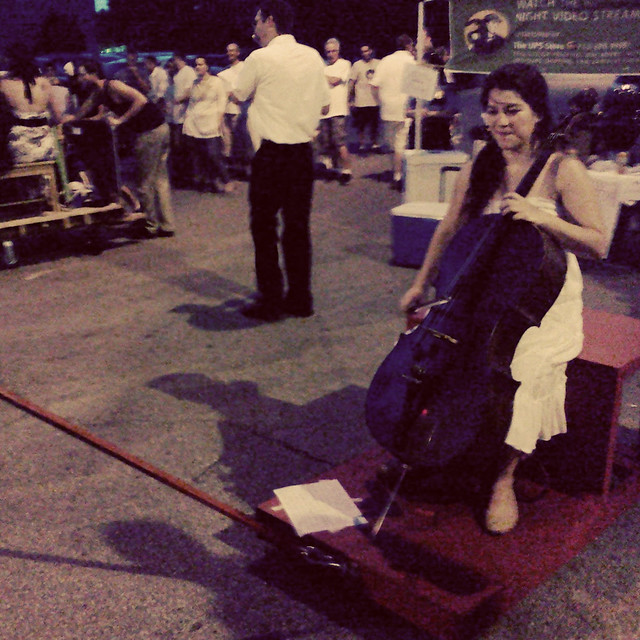
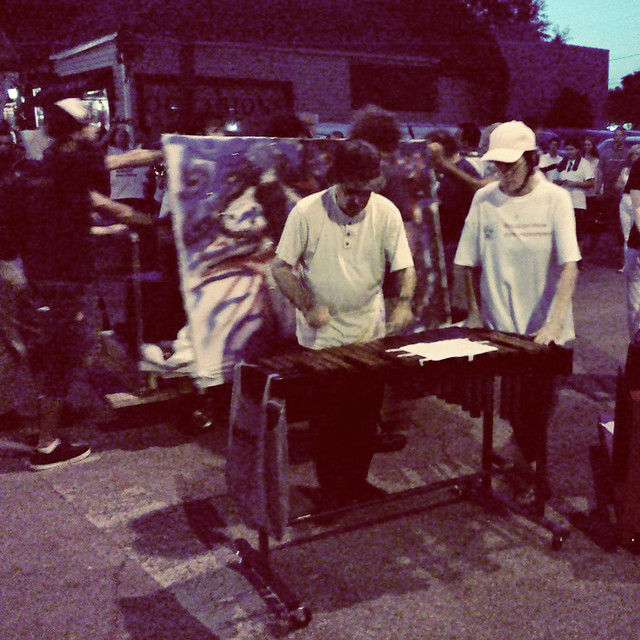
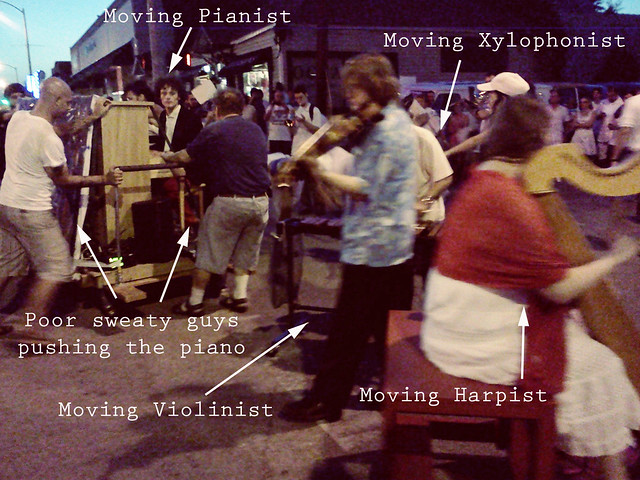
Then, we came across the bizarre moving band.  Basically everyone in the band was moving around.  For those that played stationary instruments, they were set upon a platform with wheels and then pulled around by another person.  On top of that, there were dancers dancing to the "tunes" (which really just sounded like a bunch of noise).   I felt bad for the 3 men pushing/pulling the piano around....it was HOT out.

IMG302e  IMG301c
IMG300e  IMG298e
IMG299etxt

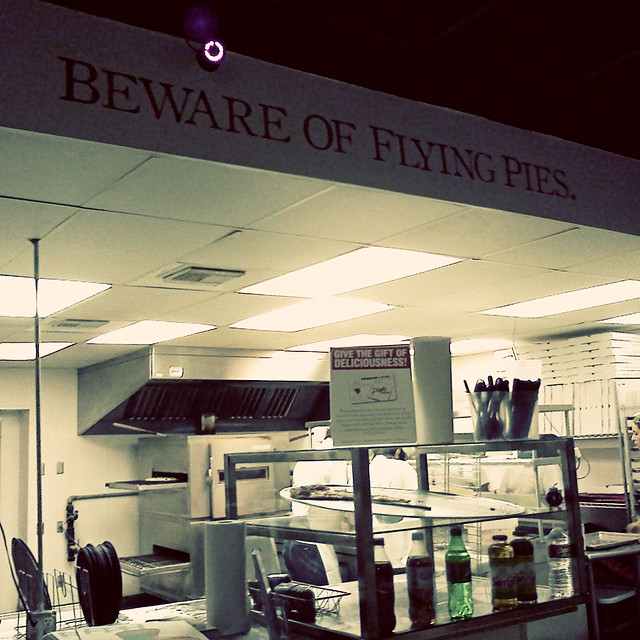
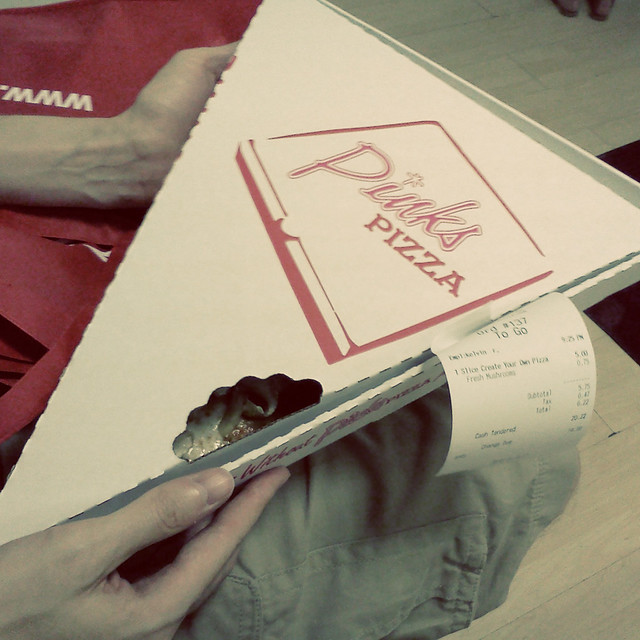
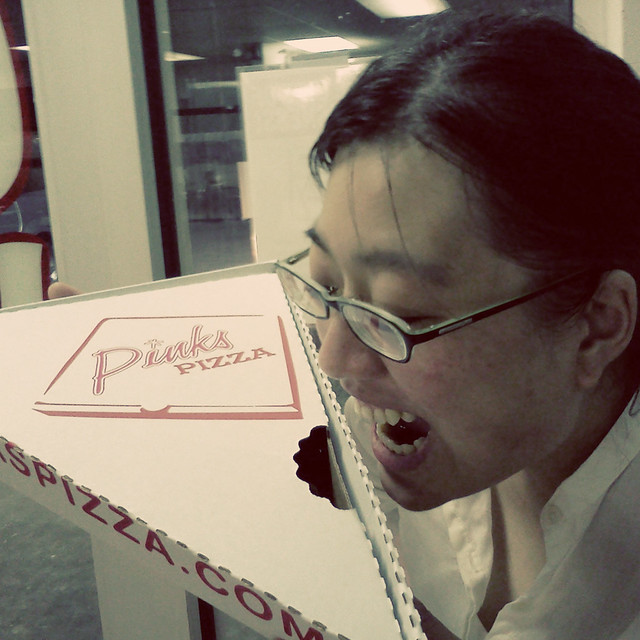
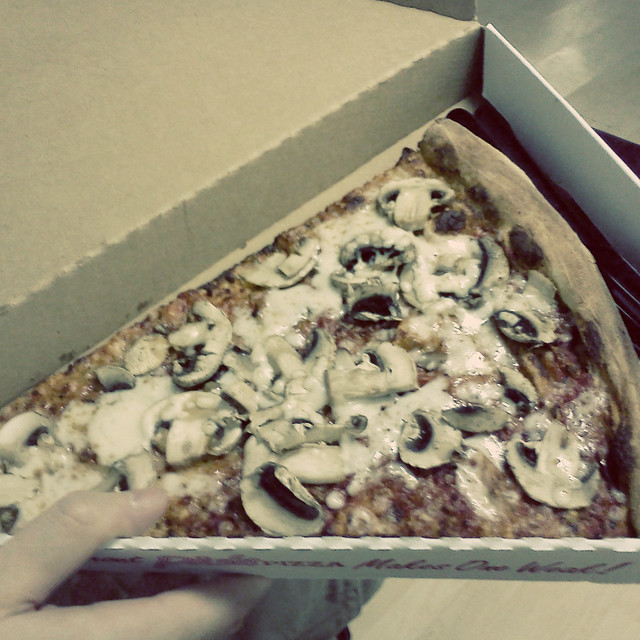
To cap off the night, we stopped at Pink's pizza and ordered a giant slice of pizza.  This piece of pizza must have come from a 24" pie...guess that's why a slice cost $5!  It was so big, you needed two hands to eat it.  There were no open tables so Andy and I took turns holding the box (grease catcher) for each other while the other used both hands to hold the slice of pizza.  So yummy!  I must say, it's the second best pizza I've had in TX - and that's saying alot!
IMG311e  IMG312e
IMG314e  IMG315c
So ends another fun adventure in Houston.  I'm so glad we're back home - after living abroad, I really have a greater appreciation of the comforts of living in the US.

Thursday, August 2, 2012

Pillowcase Tutorial

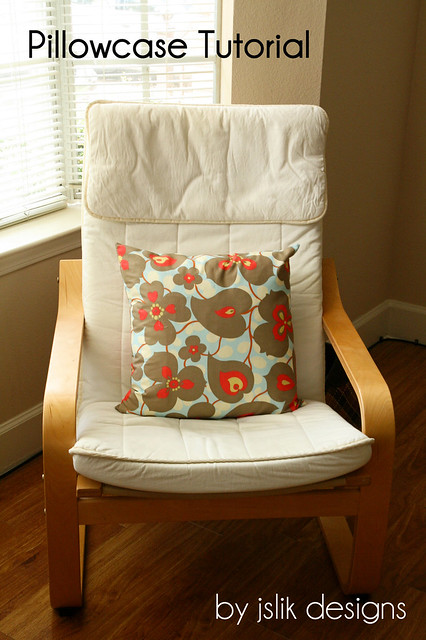
Remember those pillowcases I posted a little while ago?  Well I finally got around to writing up a tutorial on how I made them.  It's my very first tutorial, so don't judge me too harshly.  I do welcome any feedback on how to improve it.  If you'd like to download it in pdf form, you can click on this link. Give it a try, and let me know what you think!

IMG_4535txt

For this, you will need:

A throw pillow
Fabric to cover it
Thread
Invisible zipper (it must be at least as long as one side of your pillow)

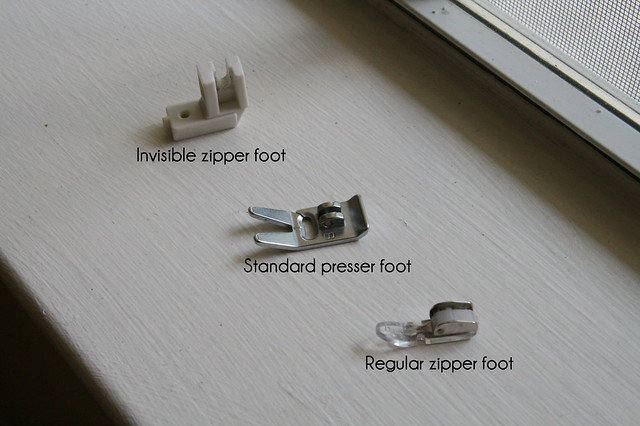
You will also need an invisible zipper foot for sewing the invisible zipper.  It will allow you to sew as close as possible to the invisible zipper so that it will not show when finished.
IMG_4447txt
Your machine may come with a regular zipper foot, but you will need to purchase a separate foot for the invisible zipper.  I bought mine while in Singapore so it may be a little different from the one sold in the US. For more information about invisible zipper feet, you can check out this website.

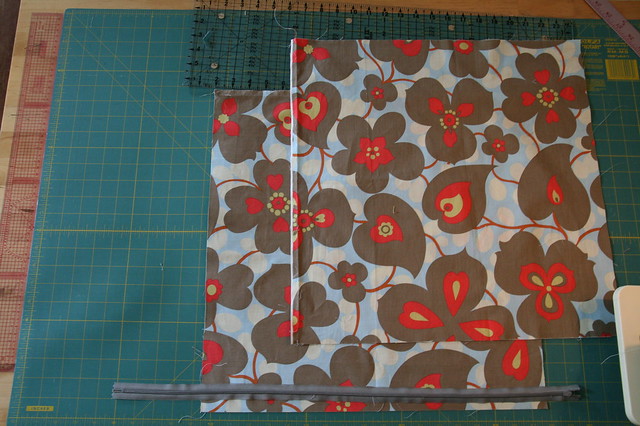
1.    Measure the dimensions of your throw pillow.  Add 1/2” to your measurements of the length and width to provide room for seam allowances (1/4” on each side).  For example, my pillow measured 18” x 18” so I cut my fabric as 18.5” x 18.5”.

2.  Cut out 2 pieces based on your measurements.
IMG_4445
3.    Unzip the zipper and using a warm iron, press open the invisible zipper.  This will help the zipper to lay flatter, which will then allow you to sew closer to the zipper teeth.

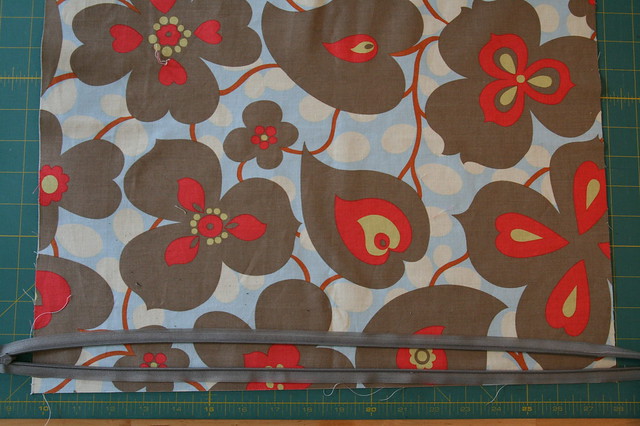
4.  Place one piece of fabric with the right side up and place the invisible zipper face down along the bottom edge.
IMG_4457

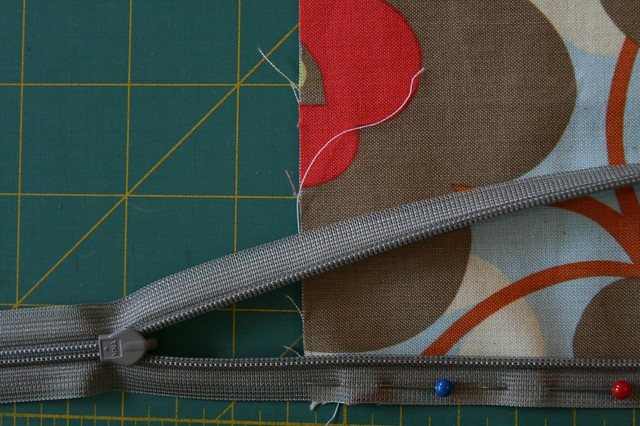
5.  Align the bottom edge of the zipper with the bottom edge of your fabric and pin.  Make sure the zipper extends beyond the fabric on both sides and the zipper head is past the edge of the fabric.  This will make it easier to sew as you will not have to maneuver around the zipper pull while sewing.
IMG_4465

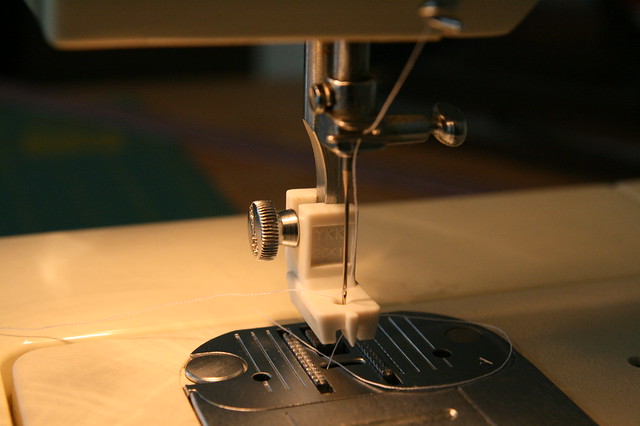
6.  Switch out the standard foot on your machine for the invisible zipper foot.  For this, you must unscrew and remove the presser foot and shank.
IMG_4470

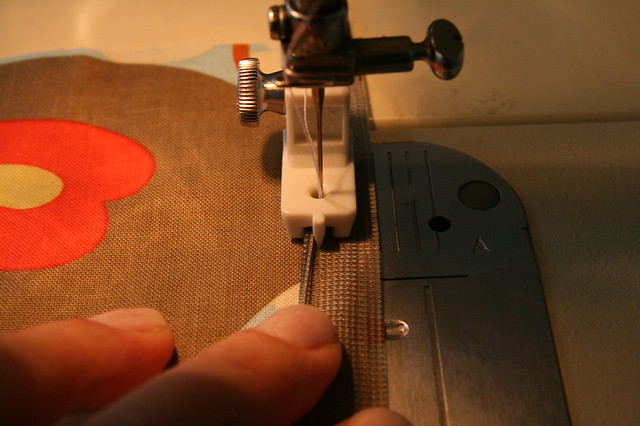
7.  With the edge of the fabric facing the right side, line up the zipper teeth with the left groove of the invisible zipper foot.  Sew the invisible zipper to the fabric.  (Tip:  Use your fingers as shown in the picture to hold the invisible zipper open as wide as possible to ensure that you are sewing as close as possible to the zipper teeth.  This will help minimize the amount of zipper that shows when you are finished.)
IMG_4477

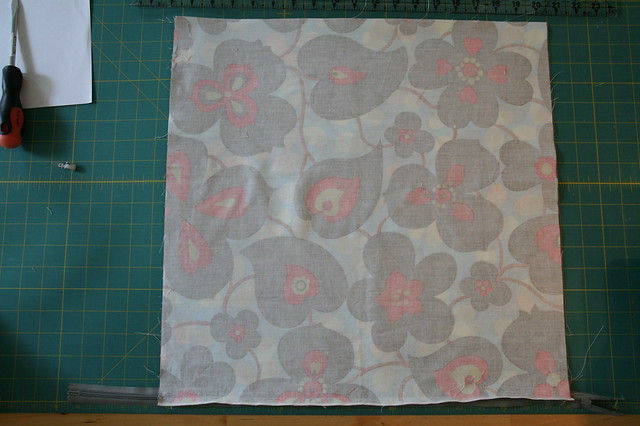
8.  Close the zipper and lay the piece sewn to the zipper with the right side facing up.  Take your second piece and lay it wrong side up on top of the first piece, lining up the edges and corners.  You may want to put a couple of pins on each side close to the zipper to help the piece stay in place.
IMG_4481

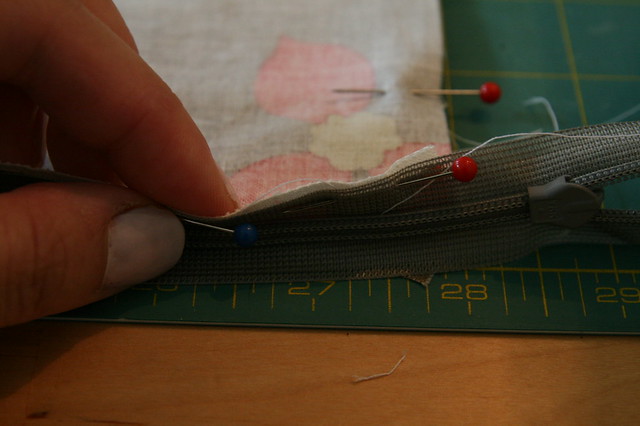
9.  Lift the free edge of the zipper towards you and line it up with the edge of the top piece of fabric.  Make sure the right side of the top piece is facing the right side of the zipper.  Pin the bottom edge of the top layer to the free edge of the zipper.
IMG_4489

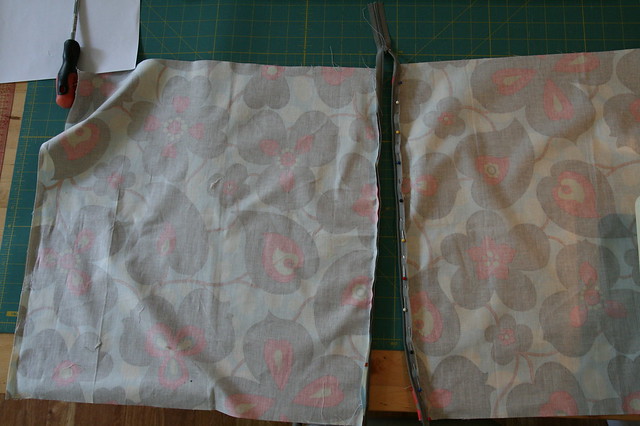
10.  When you are done, open the zipper all the way.  This is so that when you are sewing, you won’t have to sew around the zipper pull.
IMG_4495

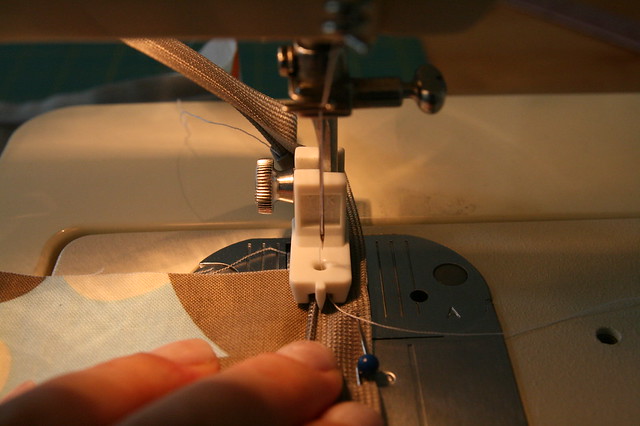
11.  With the raw edge facing the right, line up the zipper teeth with the left groove on the invisible zipper foot.  Sew the zipper and fabric together, using the same technique as before.
IMG_4497

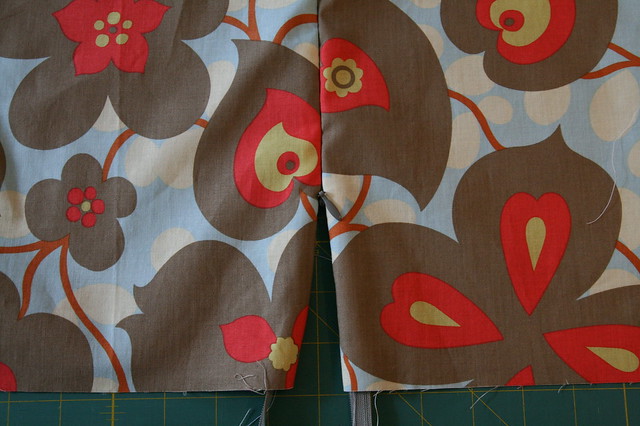
12.    Zip the zipper halfway to two-thirds of the way, making sure to leave an opening (this is so that you will be able to unzip the zipper later to turn the pillowcase inside out.  If you leave it shut, it will be hard for you to reach the zipper pull since it will be sewn inside the pillowcase).
IMG_4499

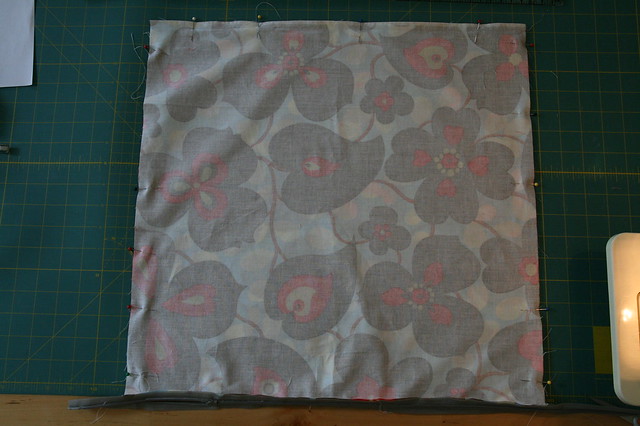
13.  Match up the sides and corners and pin the two pieces together around the edges.
IMG_4501

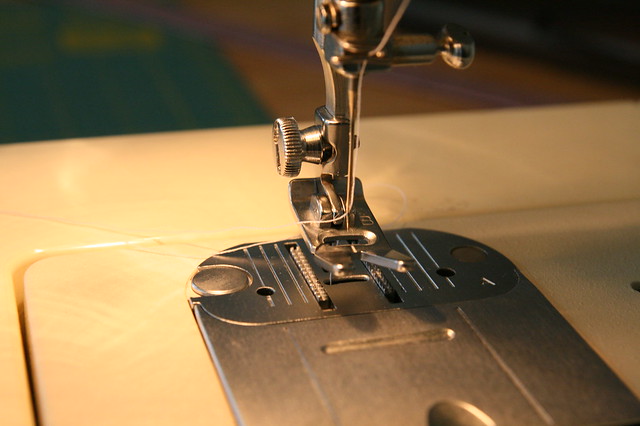
14.  Switch out your invisible zipper foot for the standard foot.
IMG_4467

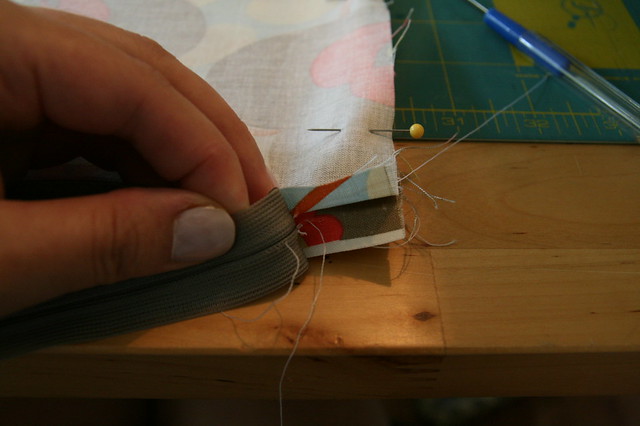
15.  Pull the zipper back about 1” from the edge of the fabric (you may need to undo some of the stitching holding the zipper and the fabric together).
IMG_4506

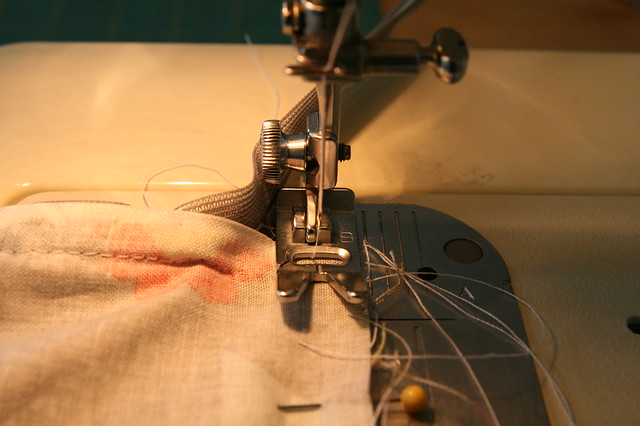
16.    When sewing, you will want to sew the three non-zippered sides of the pillowcase together first leaving a ¼” seam on all sides.  It is best to start sewing perpendicular to the zippered side, this way you can sew all three sides together in one shot.  To begin, make sure to pull the zipper away from the edge of the fabric and sew only the two pieces of fabric together.  
IMG_4512

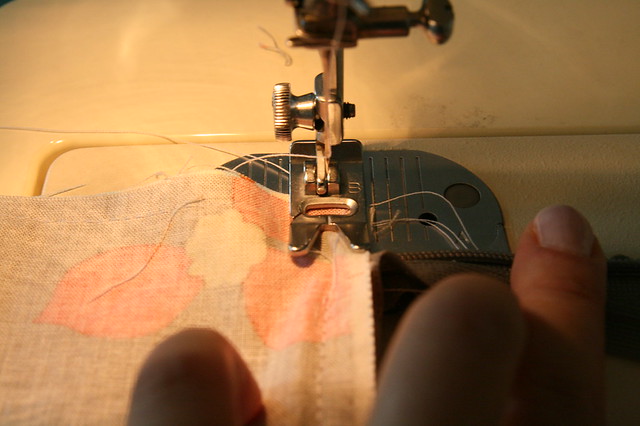
17.    To finish off the side with the zipper, you must sew closed the gap left between where the zipper starts and the corner.  While holding the zipper at a 90 degree angle from the fabric, sew from the corner to where the zipper starts, (about 1” in from the sides).   See picture below.
IMG_4519

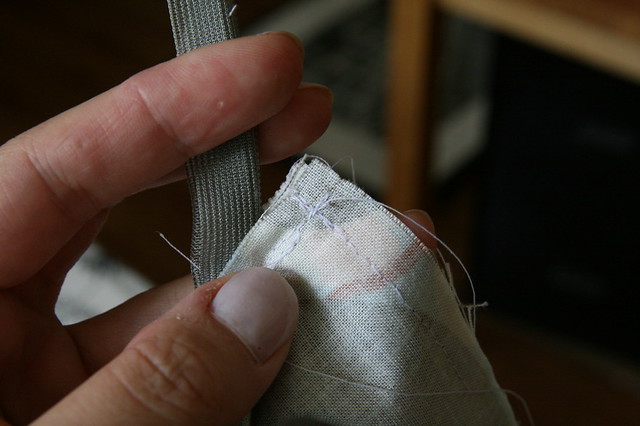
18.    When finished, the zipper should bend out away from the zippered side.
IMG_4520

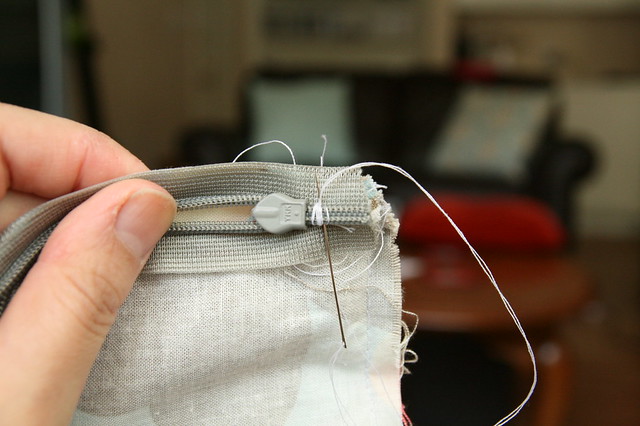
19.    Hand sew a few stitches at the end of the zipper to keep the zipper head from sliding off.  Then trim off the excess zipper.
IMG_4702

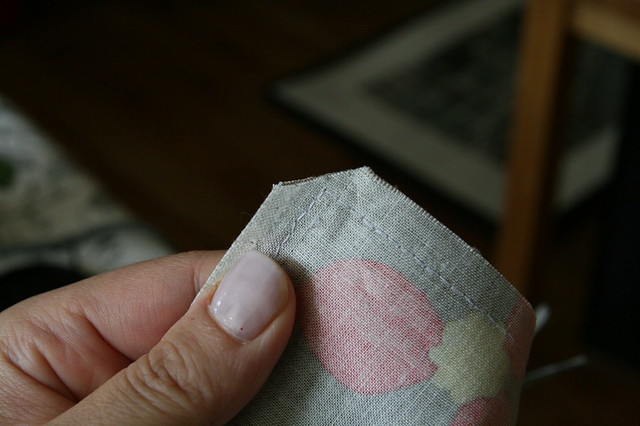
20.  Trim the points off each of the corners.
IMG_4523

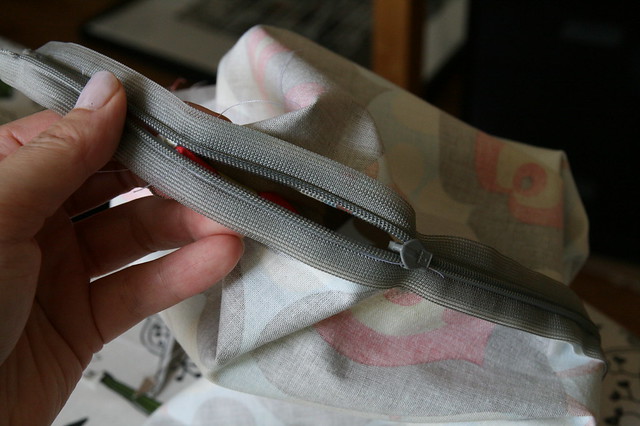
21.  Reach into the opening and unzip the zipper.  Turn pillowcase inside out.  Push out corners with a thin pointed object so that the corners are pointed (I use a chopstick).
IMG_4525

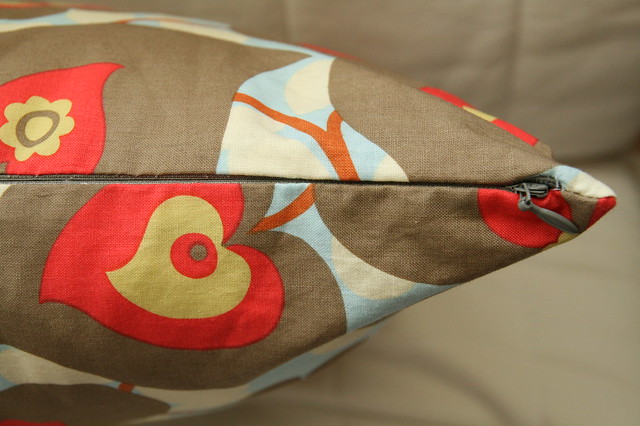
22.    Stuff your pillow in, zip it up, and there you have it! A brand new pillow to decorate your room with!
IMG_4710